Edit and Personalize Your Videos on Windows
Video-editing programs range in complexity from novice to professional, so find the right software to meet your needs and skill level is key. If you have upgraded your system to Windows 8 or Windows 10, and your previous Video editor quit working in the new OS, you've come to the right place.
In this article, a professional and easy to use Video editor for Windows –Wondershare Filmora Video Editor (Windows 10/8/7/XP/Vista supported) is shared with you. With it, you can create funny and all those awesome videos with the least time investment and directly share these with anyone. Plus, it offers the free trial for you to evaluate. Just download the free trial and follow below step by step guide.
Note: Video editor for Windows 8 supports a wide range of videos, audios, and photos.
Step 1: Import your source videos into its intuitive interface
Video Editor for Windows is an easy to use video editing software for PC that comes with an intuitive interface. It provides a User's album to help you manage the added videos, audios, and photos at ease. Now you've come to the program window, just Import to select files from your computer or directly drag and drop files to the User's Album. This program supports batch importing for saving time.

Step 2: Edit and personalize your videos
Merge, Trim, Split, Cut videos
Drag the videos in the item tray to the Video Timeline, they'll automatically merge together without any stop. Mouse over the left or right edge of a video clip on Timeline, when a "double arrow" indicator appears, just drag to trim it to any length you want. To split your videos into several segments, just play your Video video, drag the slide bar in the preview window to your desired location, click "Pause", and then choose "split", your video will be divided into two parts.

Crop, Rotate, Flip, Adjust Brightness, Speed, etc.
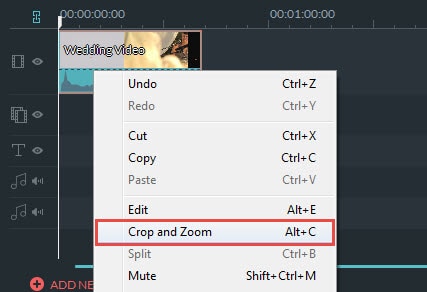
Double click the video clip, or click Edit image on the toolbar to access the edit window. Whatever you want to, just get the right tool at your hand, including video editing (crop, rotate, flip, speed, brightness, contrast, saturation) and audio editing (volume, fade in/out, pitch, etc.).

Add Titles, Effects, PIP, Transition, Intro/Credit, Voiceover, etc.
From the above screenshot, you may already see that the Timeline-based video functions all come as easy as it is and they all have the drag-n-drop feature.
- To customize title, drag and drop a title template to the position you want it to show up and customize it.
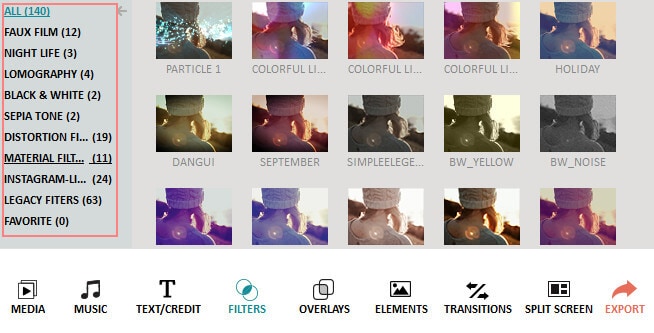
- To apply effects, choose from 50+ video effects, select it and apply to your photos/videos instantly.
- To add PIP, choose one from the template or your own photo collection and drag to the PIP Timeline. Here, you can also easily create Picture-in-Picture effect.
- To add transitions, drag and drop a transition template to the video/photo, or right click it to Apply to All.
- To add intro/credit, pick up your desired template, drag it between every two clips.
In all, with this Video Editor for Windows 8, everything is at your fingertips. If you want to record narration to the videos, just click "Record" button and go for it.

Step 3: Export your masterpiece and share with the worldwide
Video editor for Windows 8 makes all things easier to export your created Video videos. Click Create on the middle right of the program window, you'll have plenty of options.
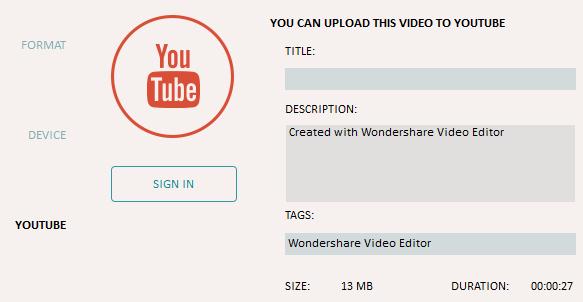
You can choose a video format for convenient playback on computer or devices, or upload video to YouTube, as well as an optional message sending to Facebook and Twitter. Or even burn that file to a DVD. It is very easy to use and it has a good output quality.

That's all! Quite easy and requires not much of editing skills, right? Get started to edit your own videos on Windows now!


